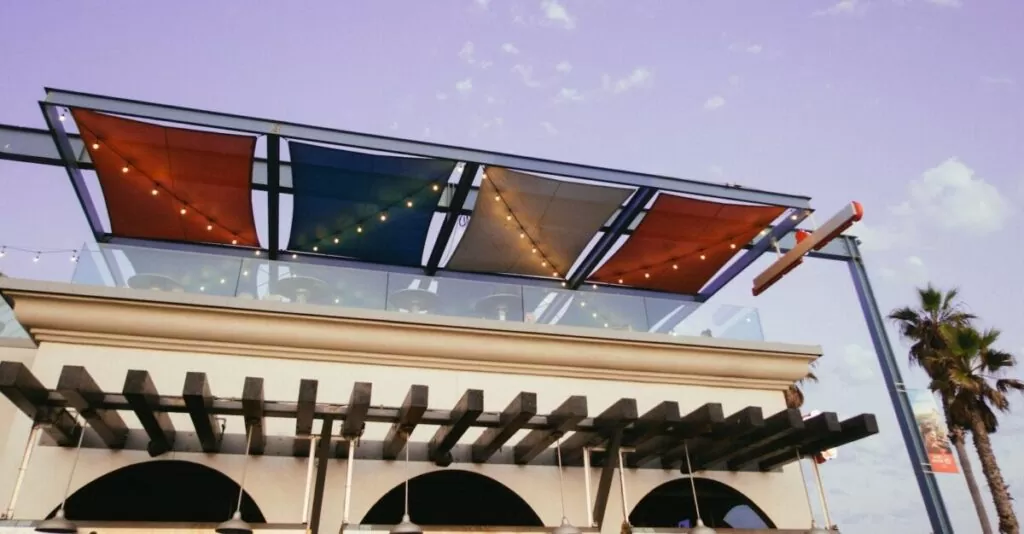
The rain has already begun to come down in certain areas of the country and the remaining geographic locations are sure to see some amount of rainfall in the coming months. If you have an awning covering your backyard, it’s a wise idea to waterproof your awning to allow yourself to enjoy your patio space during the rainy season.
Waterproofing your awning canvas is a very simple process and can help you save the day when a rain shower comes unannounced! As the song goes, “You can plan a pretty picnic but you can’t predict the weather.”(Outkast). All you will need is some basic cleaning supplies, bleach, an empty spray bottle, and a can of waterproofing liquid. Read through the full-instructions before you get started to make sure that you don’t encounter any unexpected twists!
Cleaning Your Awning
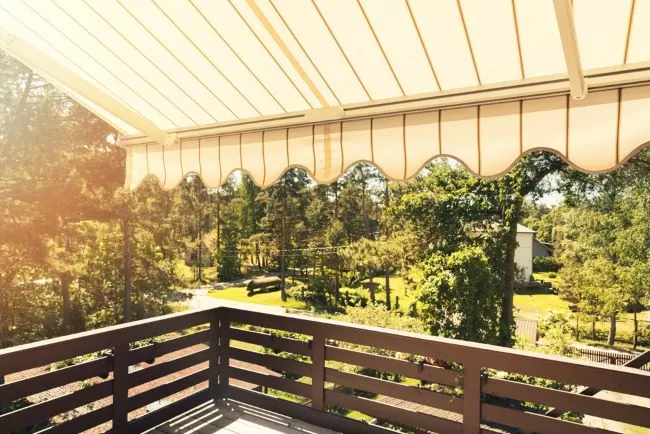
Cleaning your awning before you apply the waterproofing element will ensure that you don’t permanently trap any stains in your awnings finish. First, grab a bucket of soapy water! You can use laundry detergent or dish soap to get some nice suds going! Using a soft brush that won’t damage or tear your awning fabric, scrub your awning in a circular motion removing any dirt, stains, or filth that has accumulated over the years. When complete, wash away with a garden hose.
Prepare Your Work Area
As with any project, maintaining a clean and tidy work environment is the key to achieving a result that is worth showing off to your friends. You will want to protect the surrounding area to prevent any staining caused by the waterproofing liquids. To do so, cover any exterior walls, windows and walkways using a thin sheet of painters plastic. Once you have prepped your work area, you begin the waterproofing process.
Applying a Waterproofing Coat to Your Awning
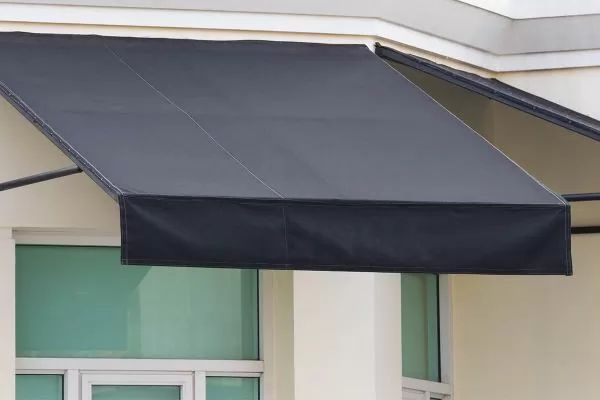
Waterproofing is fairly simple and straight forward but it is important that you are mindful of the small details. We recommend using a petroleum-based waterproofing liquid. There are a variety of brands out there that you can choose from so there is room to play around. Make sure that you do your homework to confirm that the liquid you choose is applicable to the fabric that your awning uses!
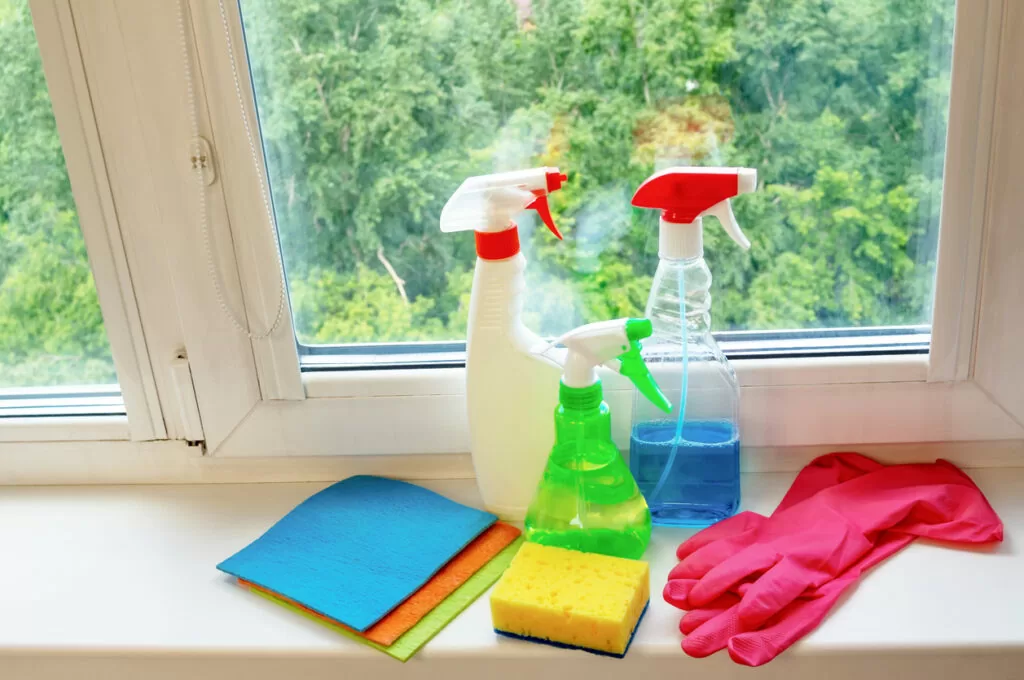
Place the liquid in a spray bottle to reduce clean up time! Begin by spraying an initial coat of your waterproofing liquid on your awning. Spray generously but avoid overspray which will cause the liquid to run. Remember, you will be going over this initial coat with a second layer to ensure a water-tight seal.
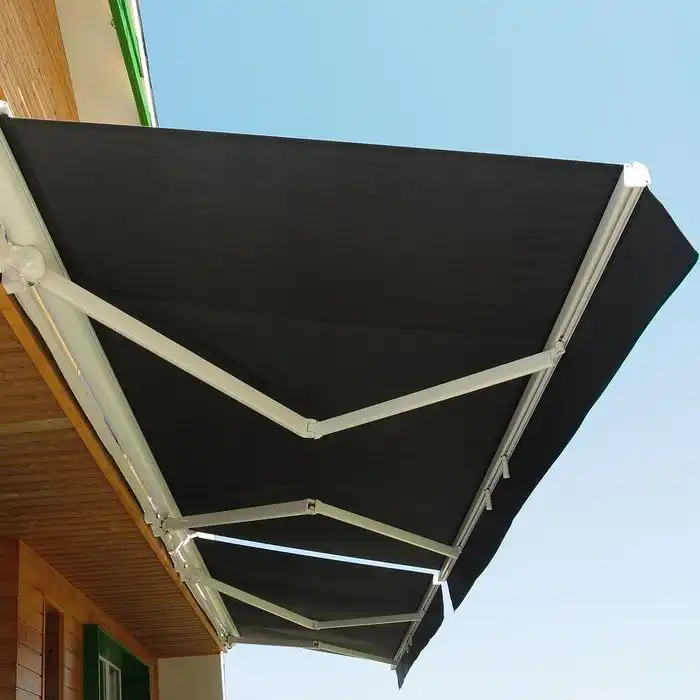
Finally, go over your initial work to fill in any small holes or gaps. It’s important that you cover any spots that could potentially allow water to seep through. If you fail to do so, your “waterproof” awning will have some holes in it’s armor (no pun intended). Allow the final coat to dry for 4 hours. Afterwards you can use your garden hose to run water across the canvas to make sure that you have created a nice seal! Finally, wait for the rain to come with a proud grin on your face!
Are you a DIY/Arts & Crafts Enthusiast? Be sure to check out this beautiful DIY Herb Pallet Garden! This pallet garden is a great way to consolidate your garden into one neat area and help save the environment while you’re at it!
More Home Improvement Projects:
- 7 Backyard Renovations That Will Boost Your Home Value
- How to Stain Concrete Slabs – Home DIY Projects
- How to Refinish a Wood Deck & Restore Its Original Beauty
- Connecting the Interior of Your Home with the Exterior
- 7 Ways to Make Your Backyard a Doggie Paradise
- 3 Ways to Liven Up Your Backyard Without Spending Money

Cheryl is an award-winning landscape design consultant in San Diego, CA. She has over a decade of experience in the design world, working on both interior and exterior projects. She received her certification in design in 2010 and has contributed to the design of 7 separate furniture collections. Cheryl began lending her expertise to Patio Productions’ blog in 2012. When she’s not living in the furniture and design world, she’s busy playing with her dogs at home, or curling up with a cup of black coffee and a beautiful book on modern design. Her favorite patio furniture are her Acapulco Chairs in lightning blue.

