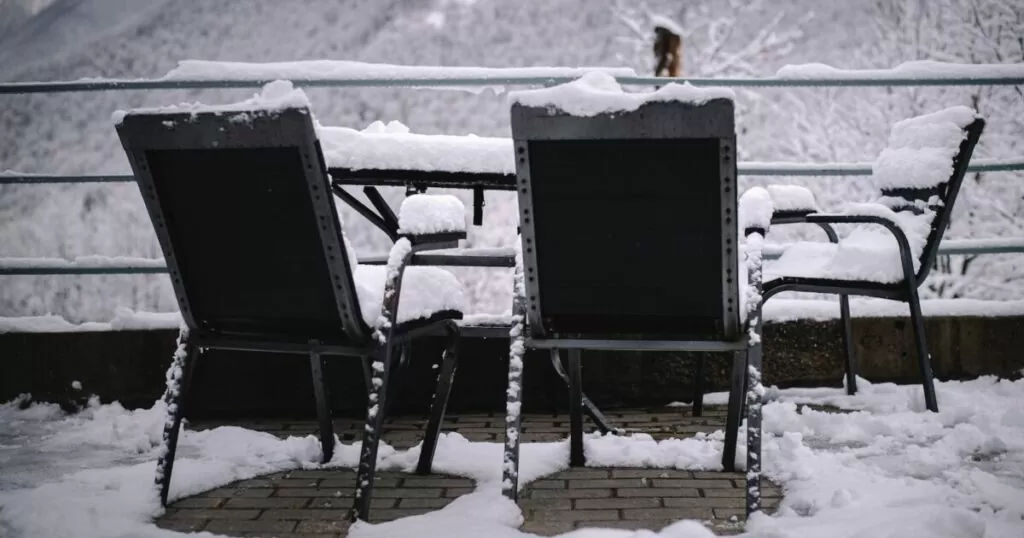
Staining concrete slabs can completely transform dull, gray concrete into beautiful works of art. Vibrant colors and intricate designs can serve as a fantastic way to complement your patio furniture, creating an inspiring and personalized lifestyle presentation.
One important consideration is that concrete staining is PERMANENT, so once you stain your stab, the stain cannot be removed. While professional staining can be expensive, staining your own concrete is an easy DIY project that anyone can tackle in a weekend. With some basic materials and tools, you’ll be well on your way to stunning stained concrete slabs.
In this comprehensive guide, we’ll walk you through everything you need to know, from start to finish, to successfully stain your concrete slabs. Let’s get started!
Explore further if you have an interest in enhancing the decor of your patio:
- Connecting the Interior of Your Home with the Exterior
- 7 Backyard Renovations That Will Boost Your Home Value
Patio Productions Key Points
Before diving into the nitty-gritty details, here are the key points to keep in mind:
- Proper surface preparation is crucial – clean and repair cracks beforehand
- Choose between acid-based and water-based concrete stains
- Always do a test patch first to ensure desired results
- Use a paint sprayer for large areas, roller for edges
- Multiple thin coats of stain prevent blotchiness
- Seal the stained concrete to protect and extend its life
Now let’s explore each step of the staining process in greater detail.
Preparing the Concrete Surface
The first and most important step to stain concrete is proper surface preparation. If the concrete isn’t properly prepped, the stain won’t properly adhere and you won’t achieve the desired results.
- First, thoroughly clean the concrete to remove any dirt, grime, oil or grease. Use a concrete degreaser and a stiff brush to scrub away built-up gunk and stains.
- Next, rinse the concrete with a pressure washer. This will remove any leftover debris and further prepare the surface for staining.
- Once clean, inspect the concrete for any cracks, chips or uneven surfaces. Use a concrete patch compound to fill any dings, divots or cracks for a smooth finish.
- Finally, allow the concrete to fully dry before applying any stains.
Choosing the Right Concrete Stain

There are two main options when it comes to concrete stains:
Acid-Based Stains
Acid-based stains contain acids that penetrate and chemically react with the concrete to produce vibrant, variegated colors. They deliver longer-lasting, fade-resistant results. However, they can be more difficult to work with and less predictable.
Be Green! – To protect our planet, we recommend covering the surrounding area with painter’s plastic. Allowing harmful chemicals to seep into the soil poses environmental risks. Dampen shrubs and grass to prevent stains from impacting your garden. Always be careful when applying acid concrete stain to your patio. If you’re interested in making your backyard childproof, check out some tips here.
Water-Based Stains
Water-based concrete stains rest on the surface of the concrete, rather than penetrate the top layer. This makes them easier to apply than acid stains. Water-based stains offer more color consistency and a wider range of color options. However, they don’t deliver the same longevity as acid stains.
For most DIYers, water-based concrete stains are the best option, but advanced DIYers may want to try their hand at acid staining for superior durability.
No matter which stain type you choose, always test it out on a small, inconspicuous area of the concrete first. This will demonstrate how the color reacts and allow you to evaluate the results before committing to the entire surface.
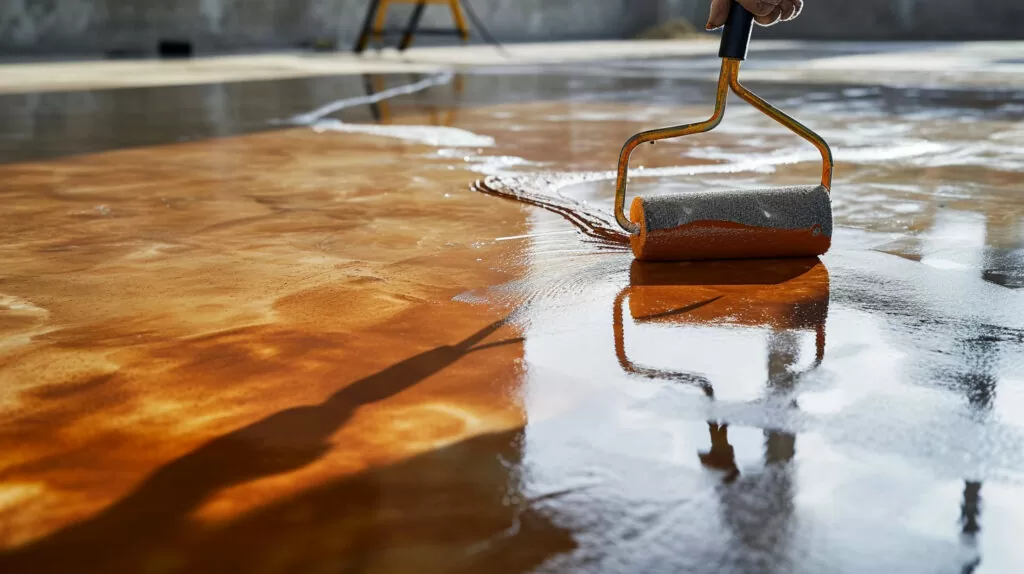
Applying the Concrete Stain
Once you’ve prepped the surface and selected your stain type, it’s time to start staining. Here are some application tips:
Techniques for Even Application
- Use a pump sprayer or paint sprayer to apply stain over large areas. This ensures even coverage. Maintain a consistent spraying motion to prevent blotchiness.
- For edges and hard-to-reach spots, use a paint roller or brush. Carefully blend these edges in with the sprayed areas to ensure a seamless application.
- Apply multiple thin coats of stain rather than one thick coat, thin coats penetrate the concrete better. Allow each coat to fully dry before adding another.
- Always maintain a “wet edge” when spraying. Overlap the stain 2-4 inches over previously sprayed areas that are still wet, this prevents lap marks.
- Work in small sections, completing one area before moving on to the next section, this gives you adequate time to keep a wet edge.

Enhancing the Stained Finish
Once the base stain color is complete, there are a few optional techniques you can use to further enhance the appearance:
Add Accent Colors
For extra visual interest, use secondary colors to create borders, patterns or designs. Tape off the areas you want to remain the base color and apply accent colors using the same technique.
Create Antiquing Effects
You can also make stained concrete mimic an aged, worn look using specialty tinting solutions. Apply these antiquing solutions over the base stain to create subtle highlights that catch the light.
Incorporate Stencils
Ready-made concrete stencils in different shapes, sizes and designs can add serious curb appeal. Adhere a stencil to your surface and apply stain over it using a brush or roller. Carefully remove the stencil to reveal your unique design.
Get creative with accent colors, antiquing effects and stencils to take your stained concrete to the next level!

Sealing the Stained Concrete
The final vital step is applying a protective concrete sealer. The sealer shields the stain from damage caused by weather, heavy foot traffic, chemicals, and other exposure risks. This keeps your stained concrete vibrant and extends its lifespan.
Most manufacturers recommend applying two coats of sealer to concrete slabs, allowing each to fully dry between coats. Solvent-based sealers offer maximum protection for outdoor concrete that endures heavy use.
Be sure to reapply sealer to your stained concrete every 1-2 years. Resealing maintains that protective barrier so your beautiful stained slabs stay that way for many years to come.
Maintenance and Care Tips
With the proper care and maintenance, stained concrete can retain its beauty for over a decade. Here are some easy tips:
- Sweep away dirt and debris regularly using a stiff broom. Pressure wash annually.
- Reseal the concrete every 1-2 years.
- Avoid parking vehicles or dragging furniture which can scuff and scratch the surface. Use furniture pads under chairs and table legs.
- Shovel snow carefully without scraping the shovel along the concrete and use salt-free ice melting products.
- Place floor mats at entryways to reduce tracked-in dirt.

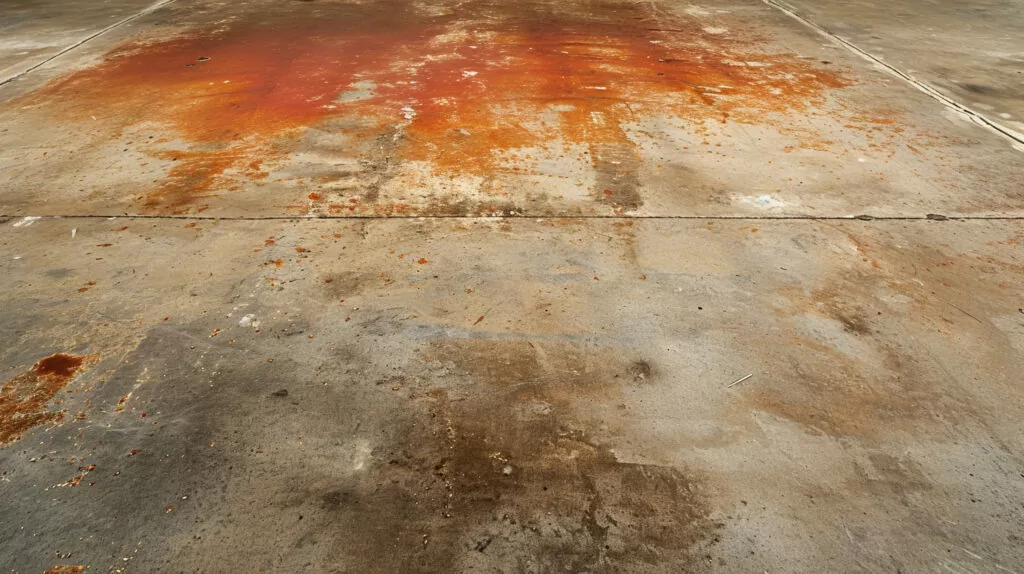
Troubleshooting Common Staining Mistakes
While staining concrete is a relatively forgiving DIY project, beginners can run into a few hiccups. Here’s how to troubleshoot the most common mistakes:
Blotchy, Uneven Staining
This happens when the stain dries at different rates across the surface. To fix, apply another thin, even coat of stain. Use a paint sprayer instead of a roller or brush to ensure uniform application.
Stain Not Bonding Properly
If the stain scrapes off or seems to wipe away easily, the concrete likely wasn’t cleaned properly beforehand. You’ll need to strip the layer of stain off and start over, then properly prepare the concrete.
Unwanted Stain Dripping
Drips usually occur when applying stain to vertical surfaces. Immediately wipe off drips with a stain-dampened rag before they dry. If already dry, sand off drips and reapply the stain.
Surface Imperfections
If cracks, chips, or textural differences become visible after staining, simply apply an additional coat to mask imperfections.
With this comprehensive guide, you have all the information needed to tackle staining your own concrete slabs. While the process takes some labor, preparation, and patience, the cost savings and customized results make DIY concrete staining so worthwhile. Get ready to transform your dull gray slabs into vibrant works of art!
More Home Improvement Projects:
- How to Refinish a Wood Deck & Restore Its Original Beauty
- How to Waterproof Your Awning
- 7 Ways to Make Your Backyard a Doggie Paradise

Cheryl is an award-winning landscape design consultant in San Diego, CA. She has over a decade of experience in the design world, working on both interior and exterior projects. She received her certification in design in 2010 and has contributed to the design of 7 separate furniture collections. Cheryl began lending her expertise to Patio Productions’ blog in 2012. When she’s not living in the furniture and design world, she’s busy playing with her dogs at home, or curling up with a cup of black coffee and a beautiful book on modern design. Her favorite patio furniture are her Acapulco Chairs in lightning blue.