Maximizing Small Spaces: Fitting an Outdoor Daybed on Any Patio
There I was, standing at my back door, looking first at my small patio and then over at my brand new outdoor daybed. It was a real "big square peg in a small round hole" situation. Maybe you've been there before. That beautiful piece of furniture looked the right size in the store or online, but it sure wasn't when it arrived.
I wish someone had saved me some stress and steered me in a better direction. So, today I'm going to walk you through a few steps (as well as some hard-learned pro tips) on how you can get the best daybed to fit into your patio. And let me start with this: if ultimate rest and relaxation is the goal, an outdoor daybed is one of your star players. So no matter the size and shape of your patio, deck, balcony, or backyard, this guide has something for you!
Frequently Asked Questions: Fitting an Outdoor Daybed on a Small Patio
Measure length and width; map possible spots. Use a tape measure and note clear floor area. For irregular shapes, break the space into rectangles to estimate square footage. Visualize placements—centered, tucked in a corner, or against a wall or fence—to guide the right footprint and style.
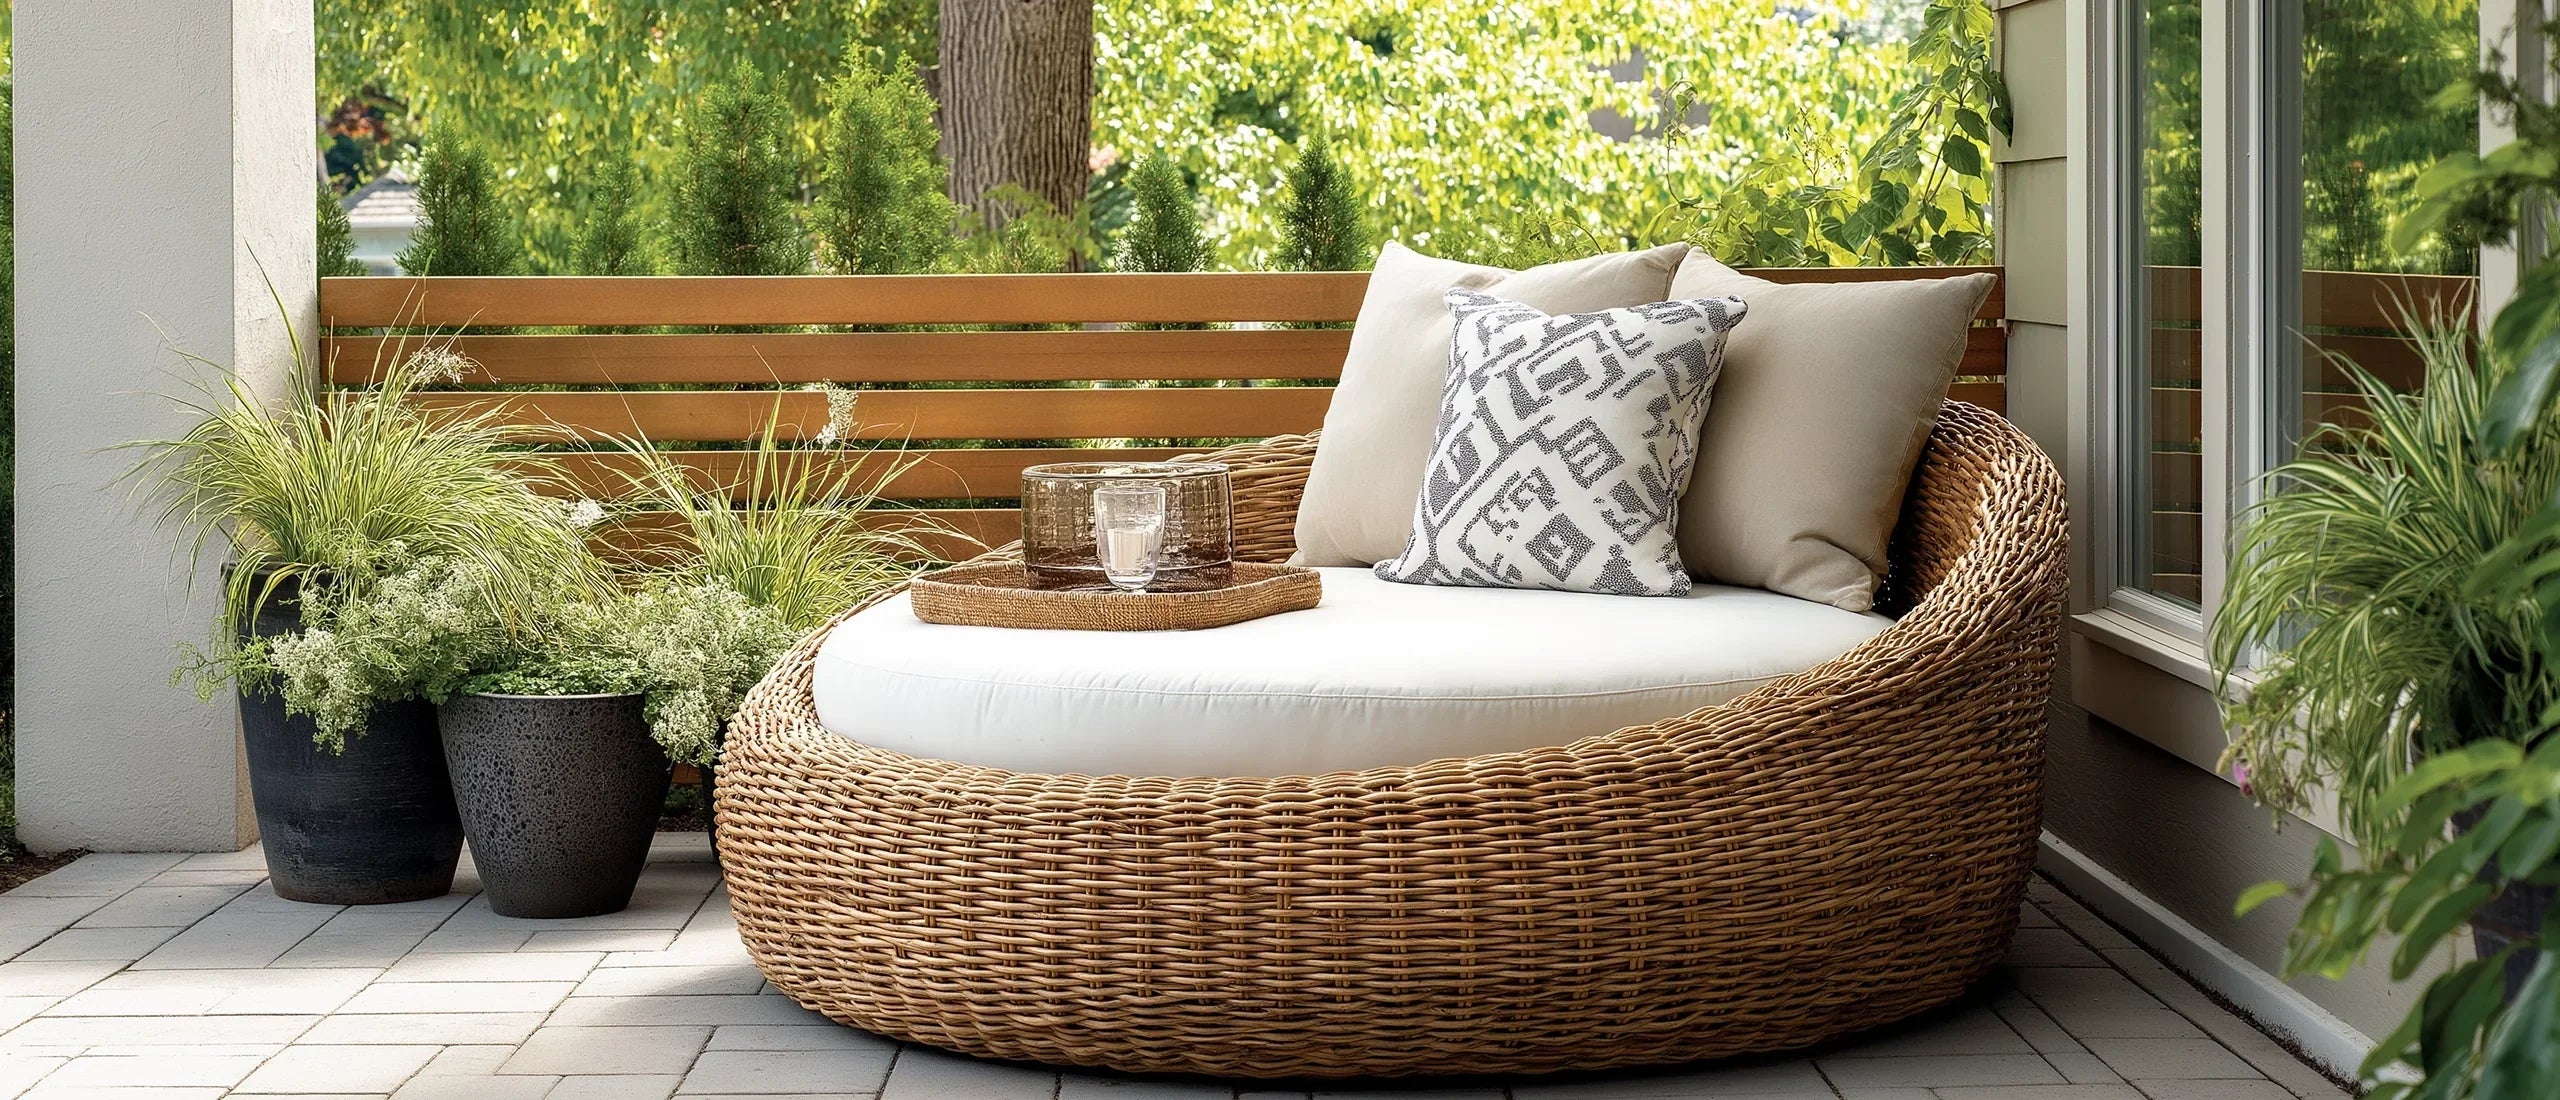
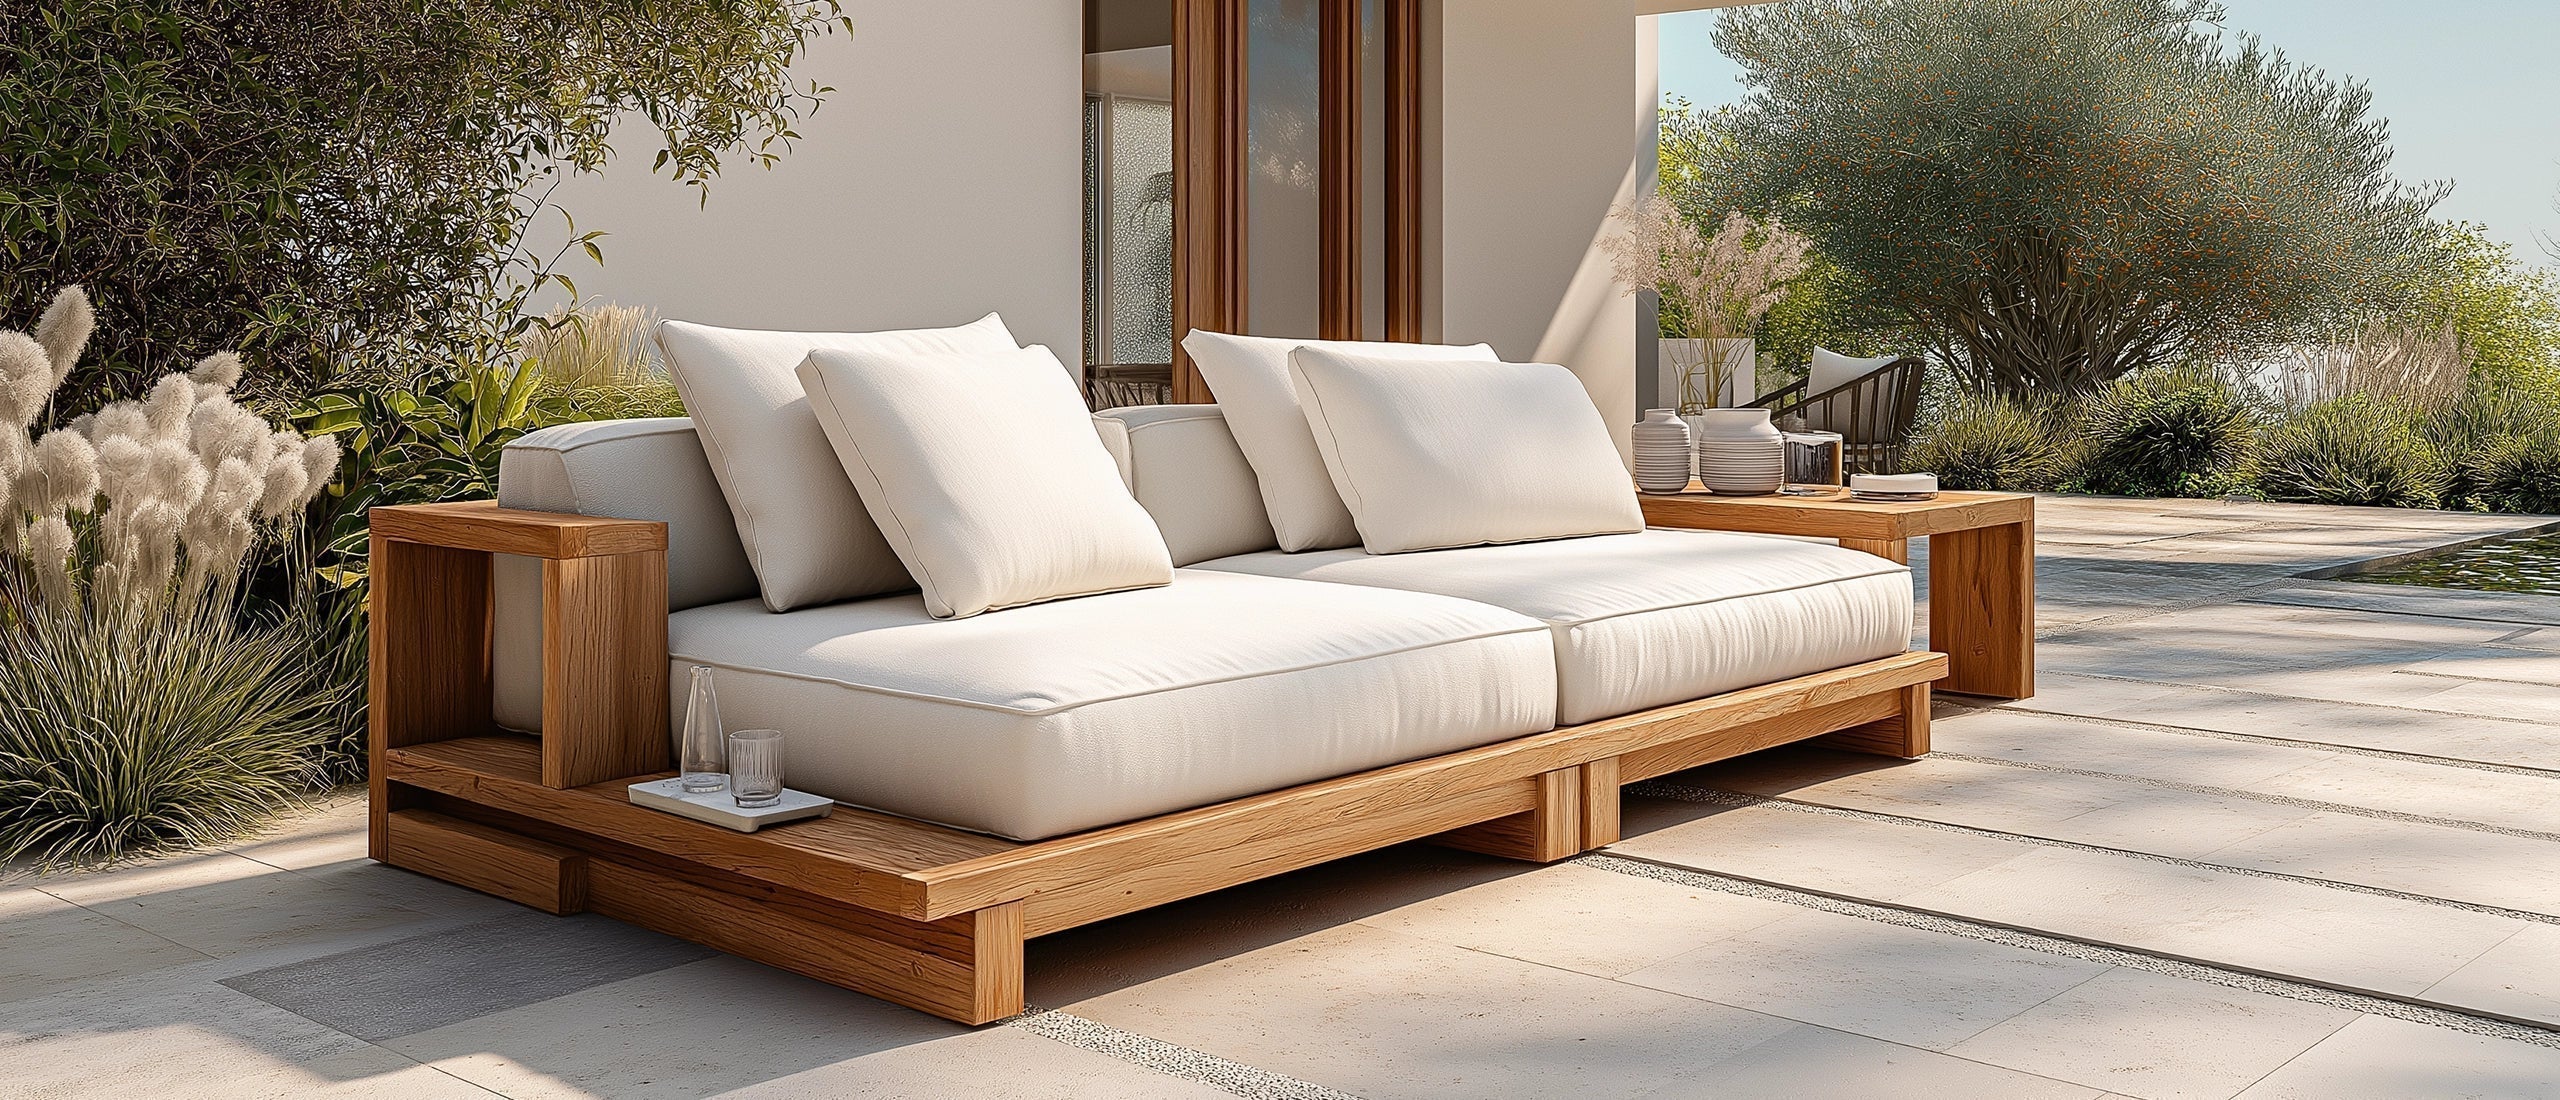
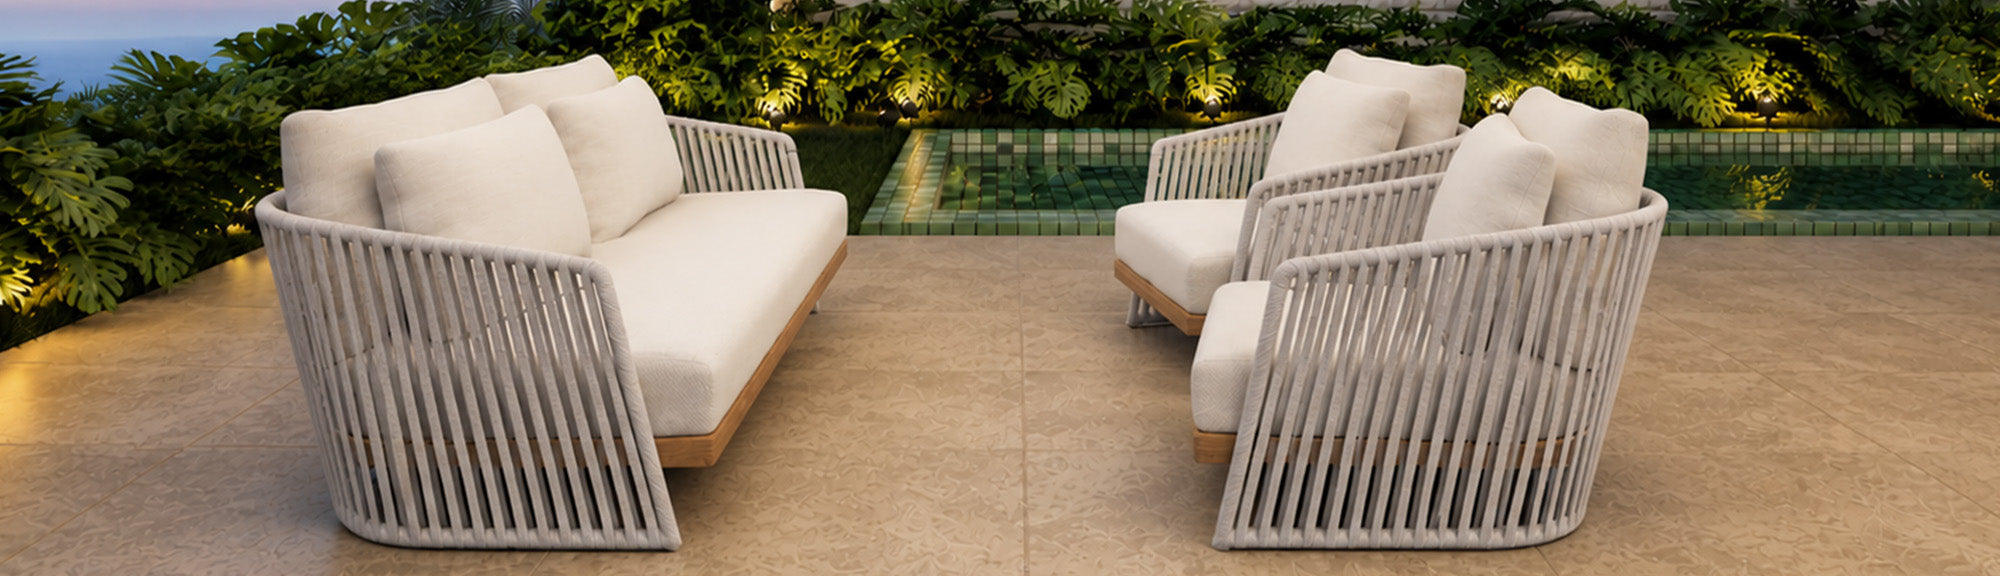
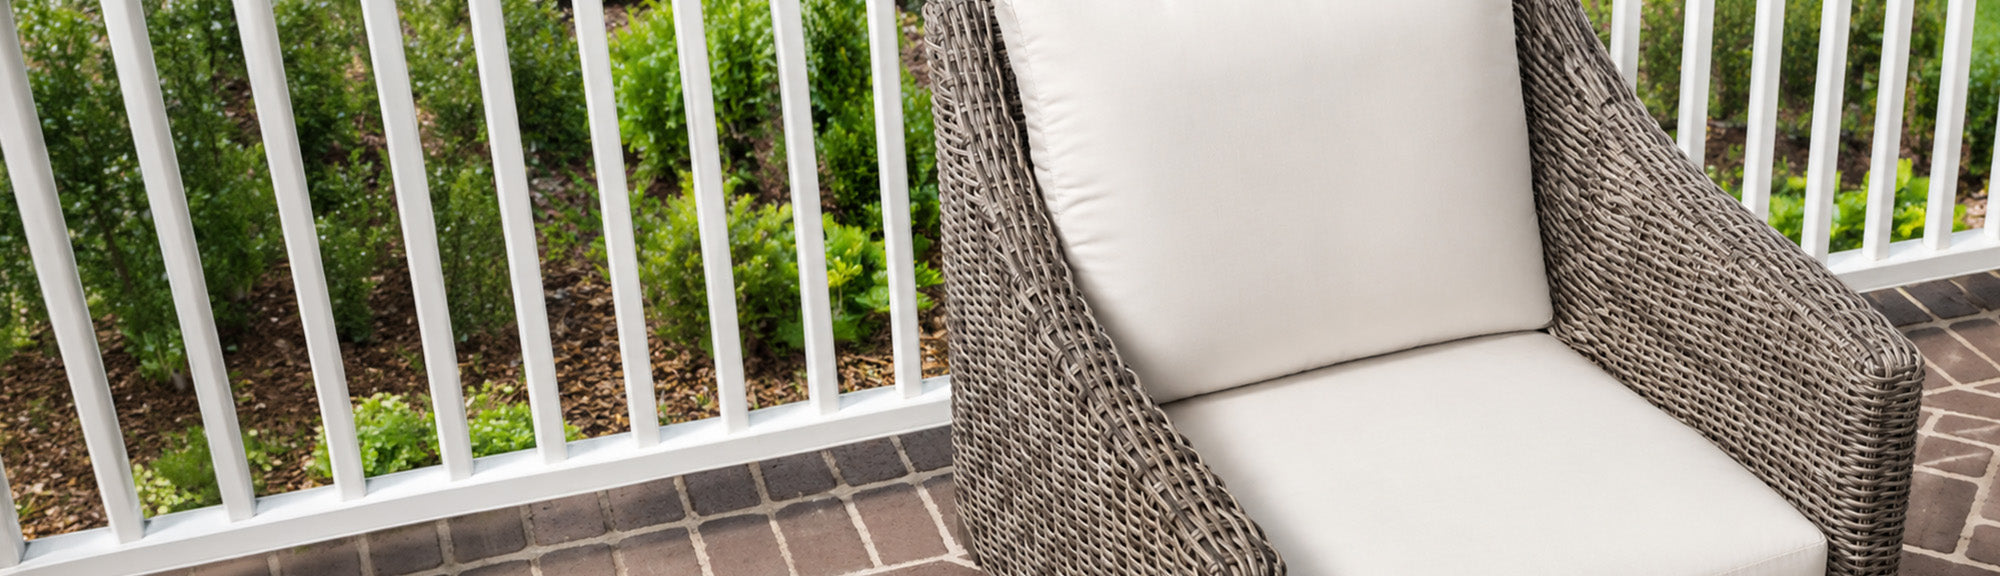
Corner-friendly, circular, hanging, or modular. Consider simple classics, canopy models for shade, circular daybeds for odd or round patios, hanging daybeds for a floating vibe, or sectional/modular designs to scale seating to guests. Prioritize size first—measure before you fall for a too-large piece.
Declutter, level, and clean the floor. Rearrange or remove extras to free space. Clear debris and ensure a level foundation. Pressure wash for a fresh surface. Stage tools and hardware nearby if assembly is needed so the small area stays organized during install.
Level it, anchor if needed, and prevent shifting. Place the daybed, check level, and secure. For built pieces, use sturdy lag bolts or brackets into suitable surfaces. For freestanding models, weigh the base and add non-slip pads. Consider privacy elements like curtains, screens, or plant hedges.
Corners or along a wall usually win. Corner placement opens walking paths on tiny patios. Against a wall or fence also saves square footage. Center placement can work if the footprint is small and pathways remain clear for easy, uncluttered movement.
Choose weather-ready textiles sized to the space. Keep proportions in check so pillows do not overwhelm. Pick weather-resistant upholstery like Sunbrella or polyester canvas for fade and mildew resistance. Add a plush mattress, throws, and—if desired—a canopy for comfort and shade.
Layer lighting, plants, and protect the setup. String lights, potted plants, and a slim side table elevate the nook. Use covers when not in use, wash frames with mild soap, fluff pillows, rotate/flip the mattress, and keep debris off the patio for a long-lasting retreat.
Here's a short action-item list:
- Assessing your patio dimensions
- Choosing the perfect outdoor daybed
- Preparing your petite patio
- Installing and securing the daybed
- Plush it up with patio pillows
- Finishing touches and pro tips

Assessing Your Patio Dimensions
The first thing's first - you gotta measure that patio space to see what you're working with. Whip out that tape measure and jot down the length and width. Don't be discouraged if the numbers seem tiny. With some spatial mastery, you can make that area feel way bigger than it is.
Pro tip: If you've got an irregularly shaped patio, break it down into rectangular sections to calculate the total square footage. I'm looking at you, folks with the funky alcove patios!
Once you have those measurements, spend some time visualizing where an outdoor daybed could potentially fit. Free standing in the center? Tucked into a cozy corner? Against a wall or fence? This spatial sleuthing will determine what daybed size and style will be the perfect fit.
Choosing Your Dream Outdoor Daybed
With patio dimensions in hand, it's time for the fun part - picking out an outdoor daybed that vibes with your space and personal style. Raise your hand if you're like me and spend hours obsessively scrolling through Pinterest…
Just me? Okay, well let me break it down for you. There are so many different daybed designs to consider:
- Simple, classic style for design versatility
- Canopy daybeds that bring their own shade
- Circular daybeds can help maximize space on irregularly-shaped patios like circular ones
- Plush, upholstered numbers you could just sink into
- Hanging daybeds for that lazy day swinging vibe
- Sectional or modular options so you can use your space to fit the number of guests!
The possibilities are endless, but remember - prioritize size, first and foremost. Measure, measure, measure that patio for the daybed's footprint before falling for something way too massive. Trust me, no one wants their pint-sized paradise feeling like a clown car once that behemoth is brought in.
Don't be afraid to get creative and think outside the traditional daybed box! Maybe construct a custom piece fitted exactly to your patio's quirky layout?

Preparing Your Petite Patio
With the perfect space-saving daybed picked out, it's time to prep that postage stamp-sized patio. This is where you may need to:
1) Rearrange and declutter any existing furniture, planters, etc. The name of the game here is to open up as much floor space as possible for your incoming daybed.
2) Clear the floor of any debris, dirt, or uneven surfaces. You'll want a nice, level foundation for that glorious new daybed to rest on. Nobody wants their siesta interrupted by a wobbly frame.
3) Pressure wash and clean the patio flooring, so it looks fresh and rejuvenated for your new addition.
4) If your daybed needs installation, gather all tools and materials in an adjacent area to avoid clutter on the tiny patio during construction.
It may seem like a chore, but this pregame patio prep will make the installation go so much smoother. Who knows, you might even rediscover square footage you forgot you had!
Installing & Securing the Daybed
Okay, the daybed has arrived and your patio is primed - let's get this puppy into position! Depending on the design, you may need a friend or two to help lug it into place. Once situated, make sure it's level and secure so you don't go tumbling off mid-nap.
If you built it yourself, use sturdy lag bolts or brackets to lock the frame firmly into the patio floor or adjacent walls. For freestanding models, weigh down the base and use non-slip pads to prevented unwanted shifting.
This is also a great time to add any privacy elements your little lounge space may need - curtains, outdoor screens, planted hedges, etc. A patio oasis only works when you can truly escape from the world's noise.

Plush It Up with Patio Pillows
With the daybed secured in its new home, it's time to accessorize! This is where you can let your individual style shine and really cozy up the space. I'm talking plush mattresses, plump pillows, soft throws, maybe even a classy canopy if you're feeling bougie.
Again, think proportions. A pile of pillows as big as your childhood teddy bear will overwhelm that tiny patio in a heartbeat. Go for reasonably sized cushions that provide comfort without dominating the square footage.
As for fabrics, seek out weather-resistant upholstery made from materials like Sunbrella or polyester canvas. You want cushions that can stand up to the elements like a total boss. Toss faded, worn out indoor pillows and let those babies live their best life inside.
Oh, and don't forget to add at least one funky patterned or textured pillow! Stare at it deep in thought between chapters of your favorite book for that "casual intellectual" aesthetic.
Finishing Touches & Pro Tips
By now your small patio is transformed into an inviting, yet space-efficient lounge spot - an intimate retreat just steps from the main house. Chef's kiss to that!
To really level up, consider hanging some string lights overhead or placing a few well-placed potted plants nearby. A sleek side table provides a handy spot to rest beverages or snacks within arm's reach. Gimme all the convenience, baby!

As for maintaining your new open-air oasis, keep these pro tips in mind:
- Invest in proper outdoor daybed/cushion covers to protect from harsh sun and rain when not in use.
- Every few months, give the daybed frame a quick soap and water scrub down.
- Regularly fluff pillows and rotate/flip the mattress to prevent permanent creasing.
- Stay on top of any rogue leaves, dirt, or debris that may accumulate on the patio over time.
With a little thoughtful upkeep, your decadent daybed setup can stay looking fresh for years of memory-making naps, book readings, and backyard hangs.
Go enjoy your new cozy corner!
Now you're ready! I hope this serves you well (and saves you the heartache I've known all too well). Measure twice, choose carefully, accessorize with style, and your small outdoor relaxation space will be ready in no time. Then the only hard decision left will be what's the best bevvy to sit and sip, am I right?
If you have any more questions, please feel free to reach out to the good folks over here at Patio Productions.
As always, stay cozy, everyone.


