DIY Sling Replacement: Step-by-Step Guide for Refreshing Your Patio Chairs
Well-made, modern sling patio chairs are designed to keep looking great over years of outdoor use. But let's be honest … fading, stains, scrapes, and tears happen. That's when you need to know the ins and outs of sling replacement. Today's step-by-step guide will help you understand the best sling materials, tools, and tricks to nurse your beautiful sling patio chairs back to life.
Sling Replacement: What to Know Before You Hit Go
- Understand value of high-quality sling fabric
- Check your sling chair's manufacturer for handy replacement kits and tutorials
- Measure your chairs carefully to determine how much fabric you need
- Take photos as you disassemble to help with reassembly later
- Stretch the new sling tightly as you install to avoid wrinkles and sagging
- A spreader tool makes the job much easier, especially when reinserting spreader bars
- Don't skimp on the binding - it gives a professional finished look

Frequently Asked Questions: DIY Sling Replacement for Patio Chairs
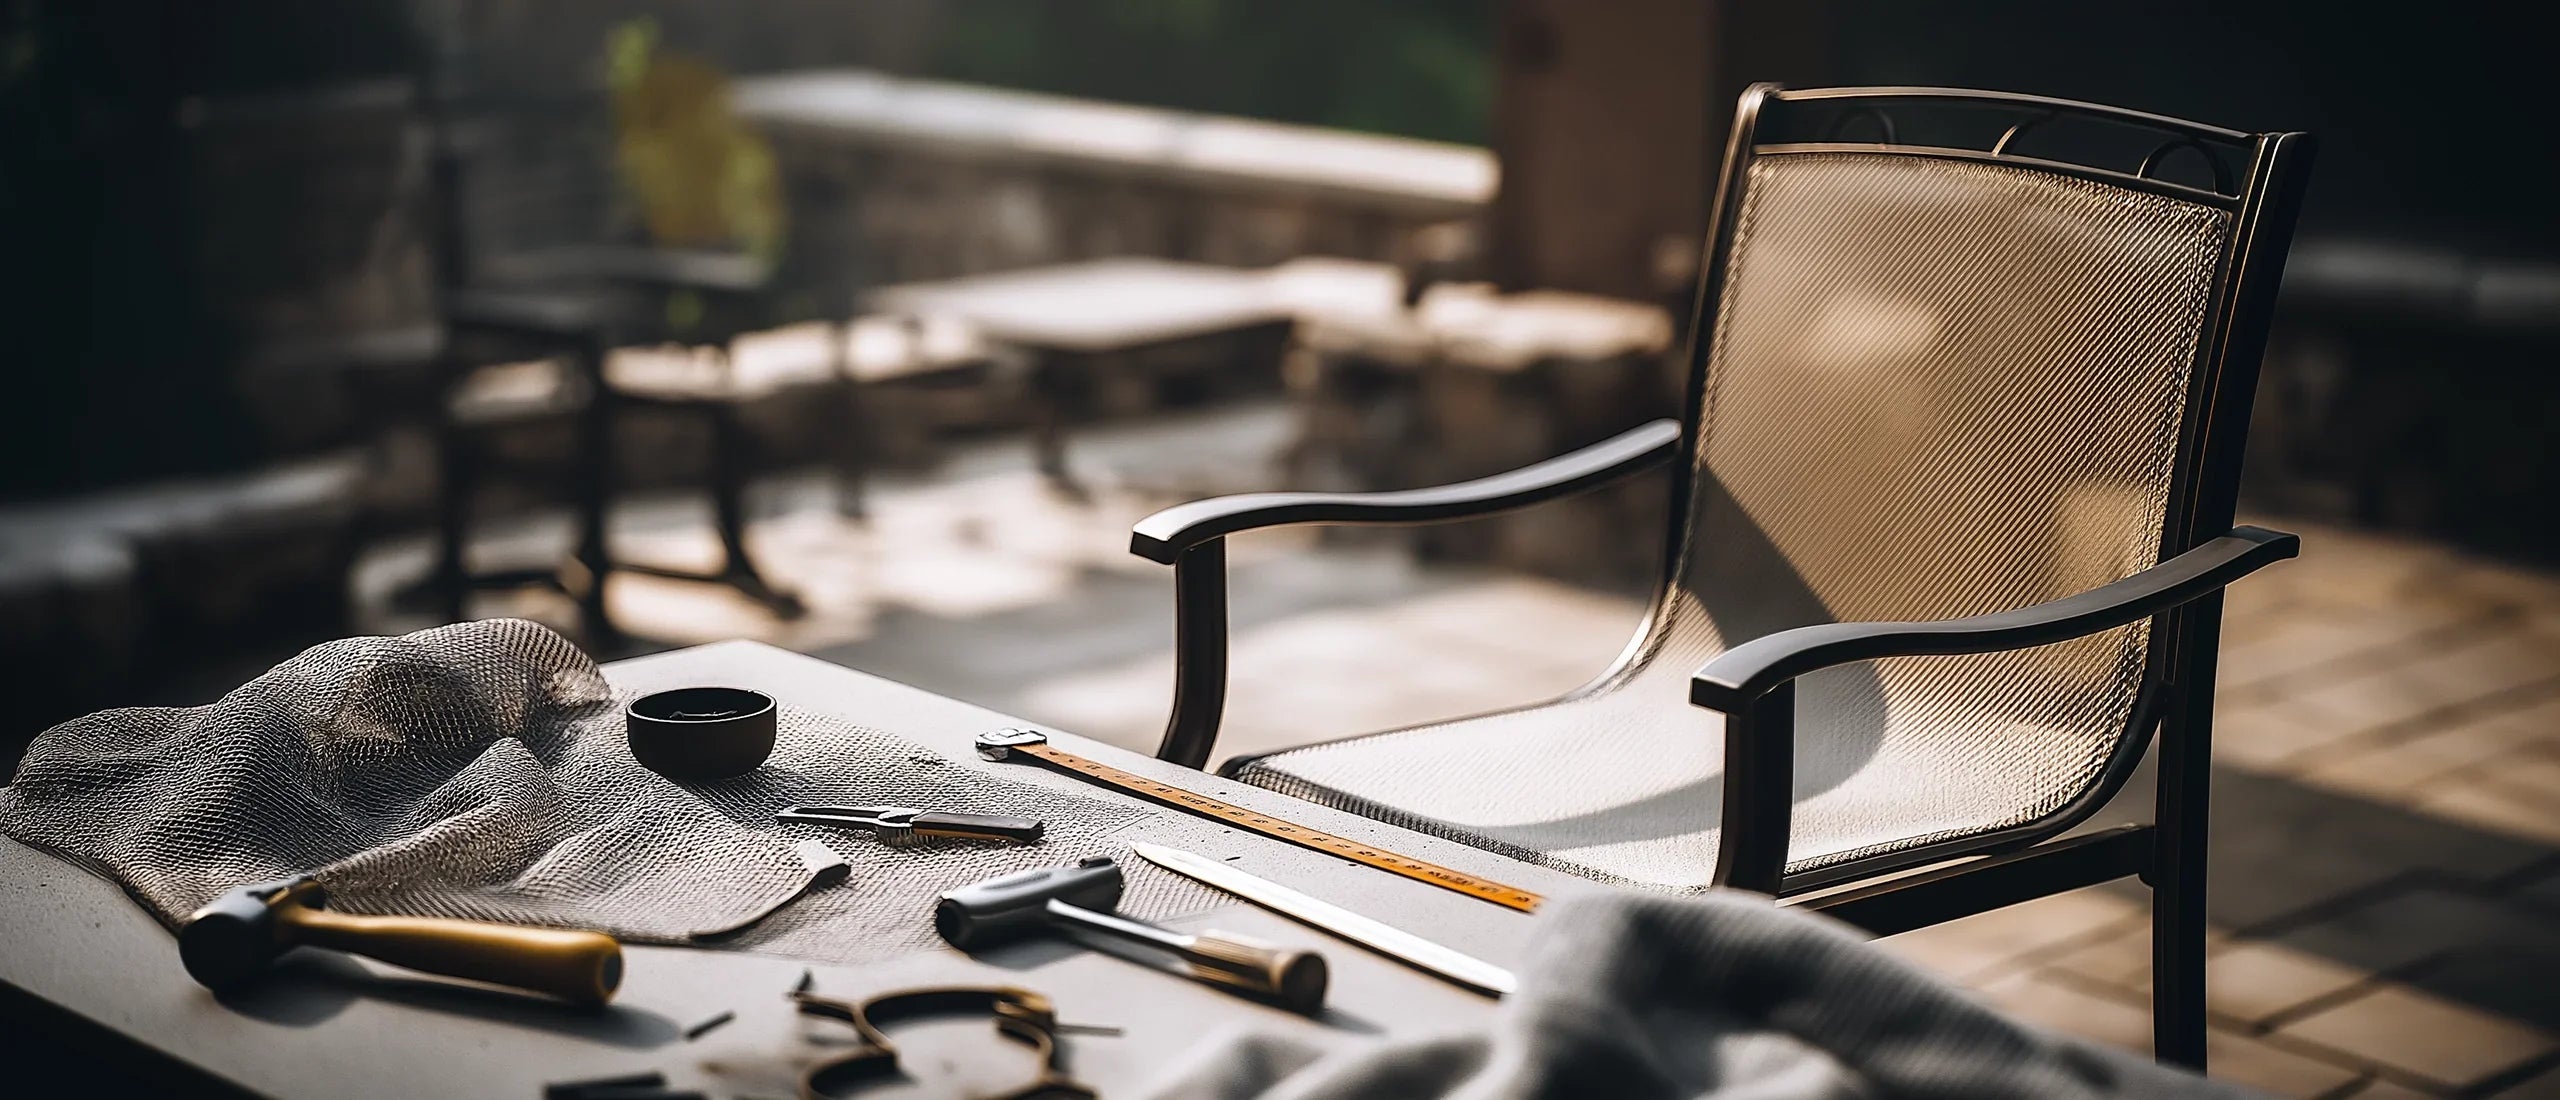
Gather fabric, fasteners, and a few simple tools. Replacement sling fabric, outdoor thread, binding, cloth tape, T-square, fabric marker, basting tape, heavy-duty sewing machine, screwdriver/socket wrench, wire cutters, rubber mallet, and an optional spreader tool for reinserting spreader bars. Keep hardware in a bowl and take photos as you go.
Kits are easiest; DIY is flexible. Check your chair brand first—many offer kits and tutorials that simplify the job. If no kit is available or you want a new look, follow the measuring, sewing, and binding steps to make custom slings.
Choose UV, mildew-resistant sling mesh. Vinyl-coated polyester (e.g., Textilene, Phifertex) is strong and economical. Solution-dyed acrylic sling (e.g., Sunbrella) is colorfast, water-repellent, and less prone to stretching. Pick reputable makers and at least ~7 oz/yd² weight.
Measure width and length, then add allowance. Measure width center-to-center on the side rails at top and bottom. Measure length with a flexible tape following the rail’s curve. Add at least 1/2" to each dimension, sketch your pieces, and triple-check before buying.
Disassemble, sew, bind, reassemble, and tighten. Unscrew rails, pop out spreader bars, and remove the old sling. Sew the new “envelope,” add binding, slide rails through, and align hardware slits. Use a spreader tool to reinsert bars, tighten bolts, trim excess nylon rods, and cap ends.
Yes—both boost durability and finish. Binding prevents fraying and gives a professional edge. Old rods get brittle after seasons in the sun; use the new heavy-duty rods supplied with your slings for the best fit and longevity.
Clean gently and protect off-season. Brush off debris, spot clean with mild soap and warm water, avoid harsh chemicals, bleach, and pressure washing, and store or cover furniture during the off-season to maximize lifespan.
Step 0: Gather Tools & Materials
Before you start any DIY project, you have to know what tools you'll need. Sling replacement is no different, and here's a handy little checklist to make things easier.
| Item | Purpose |
|---|---|
| Replacement sling fabric | The star of the show! Choose a high-quality mesh/fabric. |
| Your phone's camera | To make sure all the parts go back in the right places. |
| Outdoor thread | For all-weather durability. |
| Binding | Gives a professional, finished edge to your sling. |
| Cloth measuring tape | For accurate measurements of your chair dimensions. |
| Yardstick or T-square | To mark straight lines for cutting. |
| Fabric marker | Chalk or disappearing ink work well. |
| Double-sided basting tape | Holds layers together before sewing. |
| Sewing machine | A heavy-duty machine is best for thicker outdoor fabrics. |
| Screwdriver or socket wrench | For removing and replacing bolts and screws. |
| Wire cutters | To trim excess nylon rods. |
| Rubber mallet | Helpful for tapping end caps back into place. |
| Spreader tool (optional) | Makes stretching the sling and reinserting spreader bars much easier. |
Sling Replacement Kits
Okay, before you get hip deep into measuring and custom-making a sling replacement, you should hop online and check with your sling furniture's manufacturer. Most well-known brands offer replacement kits that will make your job FAR easier. For example, take one of our favorite luxury sling furniture makers: Homecrest. Not only does their sling material last for years (if you take care of it), but on their website you can find many useful resources for replacing your sling material.
Also, online how-to videos are a DIY-er's best friend. Let's use Homecrest as an example again. A quick web search turns up how-to videos, made by Homecrest as well as others who use or sell their products.
Helpful online videos can give you helpful insights and time-saving tips.
Choosing the Right Sling Replacement Fabric
A former boss used to tell me, "Your output is only as good as your input." And that's definitely the case for your sling replacement project. So if you're not buying a replacement kit from a well-known outdoor furniture brand, you need to make sure you choose high-quality outdoor sling materials. They'll keep your furniture looking better and enduring outdoor life much more effectively. So, your first step for this project is choosing the right sling or mesh material.
Step 1: Fabric Faceoff - Quality Sling Options
To protect your sling from all the wear-and-tear it'll take in your outdoor space, you'll want to shop for sling fabrics specifically designed for life outdoors. There are 4 main factors you need to keep in mind as you research for high-quality, durable fabric options.
- UV resistance: Prevents fading and deterioration from sun exposure.
- Mildew and mold resistance: Especially important in humid climates.
- Durability rating: Often expressed in hours of use before noticeable wear.
- Ease of cleaning: Look for fabrics that can handle regular cleaning.

You'll find that most premium sling fabrics come in two types: vinyl-coated polyester and solution-dyed acrylic. Vinyl-coated polyester is used in two of the big names right now - Textilene and Phifertex. Both are strong, economical choices that resist tears, fading, and mildew. Solution-dyed acrylic is used in Sunbrella's sling mesh. They're a well-known and much-respected name in the patio furniture biz, and their sling material is colorfast, water-repellent, and less prone to stretching over time.
| Vinyl-coated polyester (e.g., Textilene): | Solution-dyed acrylic (e.g., Sunbrella): |
| - Strong, economical choice - Resistant to tears, fading, and mildew |
- Colorfast and water-repellent - Less prone to stretching over time |
So, selecting the best replacement sling fabric for you comes down to your climate, furniture usage, and budget. Whichever one you choose, do yourself a favor and find a reputable maker and a fabric weight of at least 7 oz. per square yard for best performance.

Out With the Old
Step 2: Measure Twice, Order Once
Now the real work begins. And this second step is essential because you want to buy the right amount of fabric. Measure the width of your chairs from the center of one side rail to the center of the other, at both the top and bottom of the sling area. For the length, use a flexible cloth tape to measure from the top edge down to the seat, following the curve of the rail.
Write down those numbers, then add at least a 1/2 inch to each dimension. You'll want to sketch out the shapes and dimensions of each section of material you need, then triple-check to make sure the width and length of the material you're purchasing is enough.
Step 3: Deconstruct
Time to take things apart! Grab your screwdriver or socket wrench and start removing the bolts and screws holding the sling rails to the chair frame. As you go, place the hardware in a bowl so nothing gets lost. This is a great time to start implementing your phone camera, ensuring each screw eventually goes back into the hole you took it out of.
Pro Tip: Use a Sharpie to label the rails and take photos of the disassembly process. It'll make putting things back together so much easier later on.
Once everything is unscrewed, you should be able to pop out the spreader bars and lift out the old sling. If it's really stubborn, carefully cut it out with a utility knife.

In With the New
If you've ordered a pre-made replacement kit, this is likely the time when you're simply following their included instructions to reinsert your new fabric. If a replacement kit wasn't available, or you're wanting to change your fabric type, move on to Step 4.
Step 4: Measure & Mark
Using your measurements from Step 2, mark out two rectangles on your new sling fabric - one for the front, one for the back. On the rectangle that'll form the bottom of the "envelope", make additional marks for:
- Which end is the top (very important!)
- Where the hardware slits should go, using the old sling as a guide
- A 1" wide opening at the bottom for turning things right side out
Cut out both rectangles, making sure to cut along the slit and opening marks on the bottom piece.
Step 5: Sew What?
Fold in the flap at the bottom opening and stitch it down about 1/4" from the edge to neaten things up. Then line up your two rectangles with right sides facing and the envelope opening on the outside. Use basting tape to hold the edges together.
Starting at one side of the bottom opening, sew all the way around the perimeter with a 1/4" seam allowance (or less). Pivot at the corners by raising the presser foot with the needle down, turning your fabric, then lowering the foot again. Stop sewing at the other side of the opening.

Step 6: Bind & Beautify
Nearly there! Binding the edges gives your new sling a polished, professional look. Simply fold the binding tape over the raw edges, lining up the center crease with the fabric edge. Sew close to the inner fold all the way around, making neat 45 degree folds at the corners.
Stop about 6" from where you started, fold under the binding end, and overlap your starting point. Sew a few stitches back and forth to secure the join.
Step 7: Reassemble & Relax
This last step can be both the most exciting and the most anxious - you have to put it all back together! (I hope you have those photos on your phone handy because they can be clutch!) Start by inserting the side rails through the envelope opening and out the hardware slits. Pay attention here because you may need to tug and stretch the sling to get everything lined up - this is where having a very snug fit pays off.
Now grab the rails and reattach them to the chair frame. Re-check those labels and photos. It's easy to grab the wrong piece, and it's so frustrating to have to backtrack. A spreader tool is super handy at this point for stretching the sling and popping the spreader bars back in place.
Tighten all the bolts; secure those screws. Then carefully trim any excess nylon rod from the sling ends and pop the plastic caps back onto the rails.
Now all you have to do is go pour yourself a tasty bevvy and take a seat. Nice work!
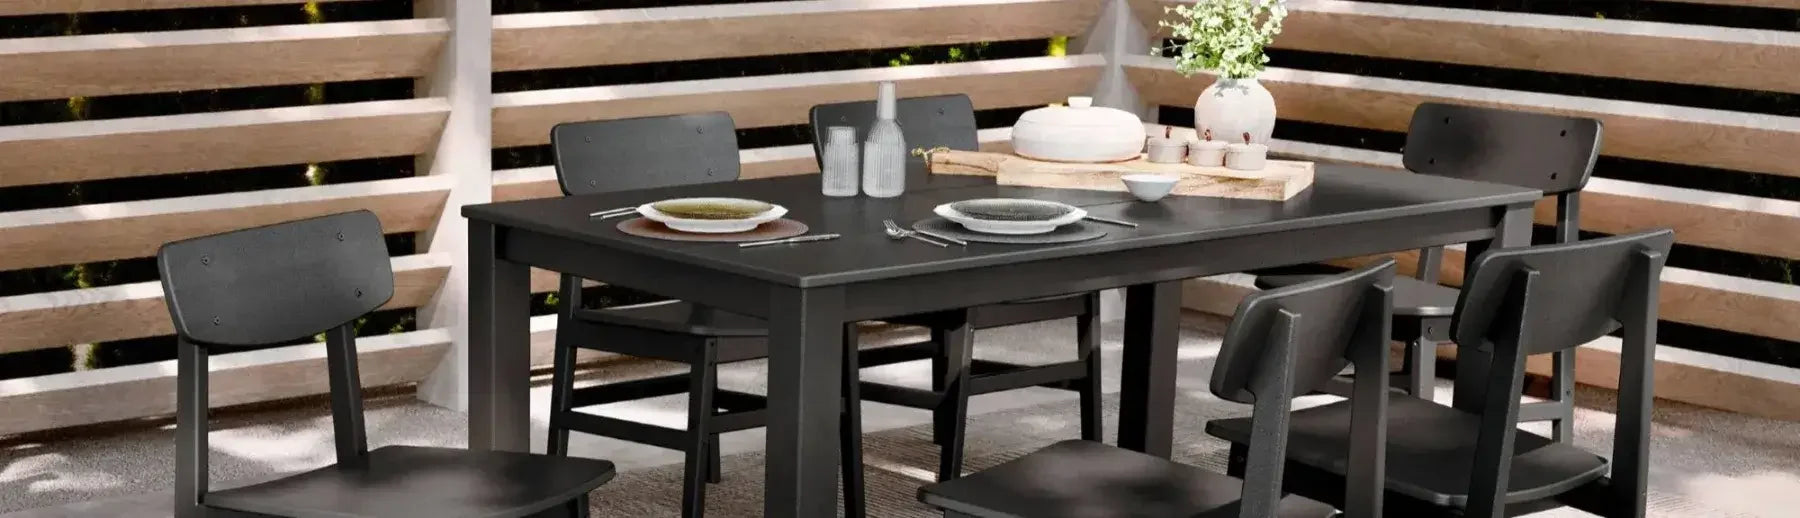
Thinking about replacing your whole sling patio chair? Patio Productions has what you're looking for:
Sling Seating

Marin Sling Swivel Rocker Dining Arm Chair
$1,259.00

Marin Sling Dining Arm Chair
$991.00

Marin Padded Sling Dining Arm Chair
$1,188.00

Marin Padded Sling Swivel Rocker Dining Arm Chair
$1,456.00

Avana Sling Swivel Rocker Dining Arm Chair
$1,295.00

Avana Sling Dining Arm Chair
$1,028.00
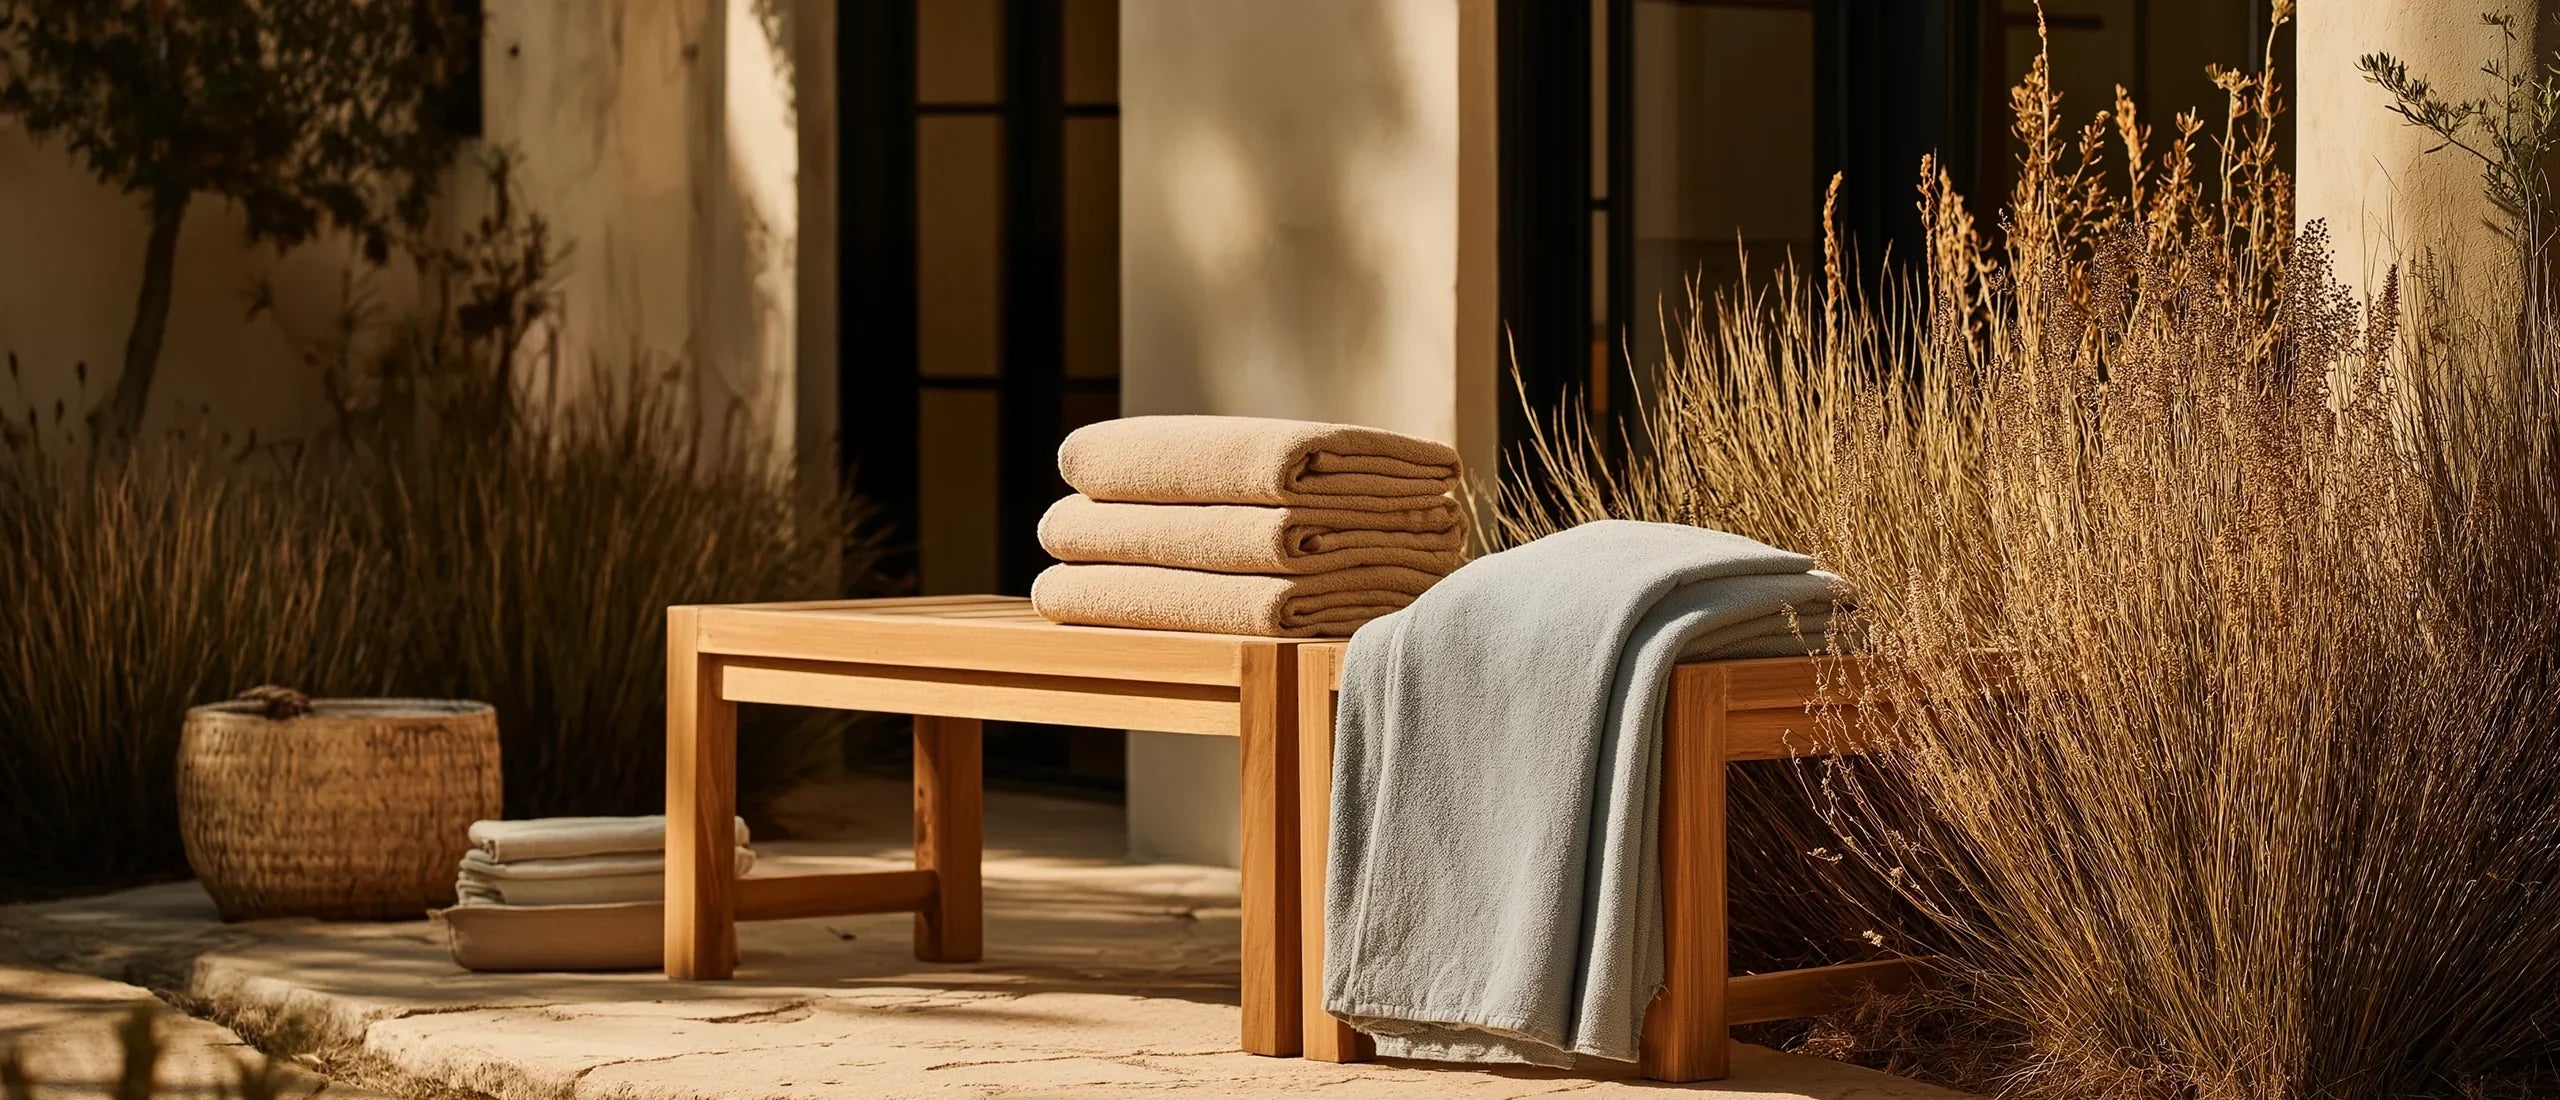
Caring For Your New Slings
Okay, okay, there might be one more step if you really want to make sure your replacement sling project goes the distance. Semi-regular maintenance. Yes, high-quality outdoor fabrics are designed to withstand all the stuff -- sun, rain, chlorine, guests, kids, and all you'd expect. But it's not invincible, so you here's how you should take care of it.
- Brush off dirt and debris regularly
- Spot clean with mild soap and warm water as needed
- Avoid harsh chemicals, bleach, and pressure washing
- Store furniture or use covers during the off-season
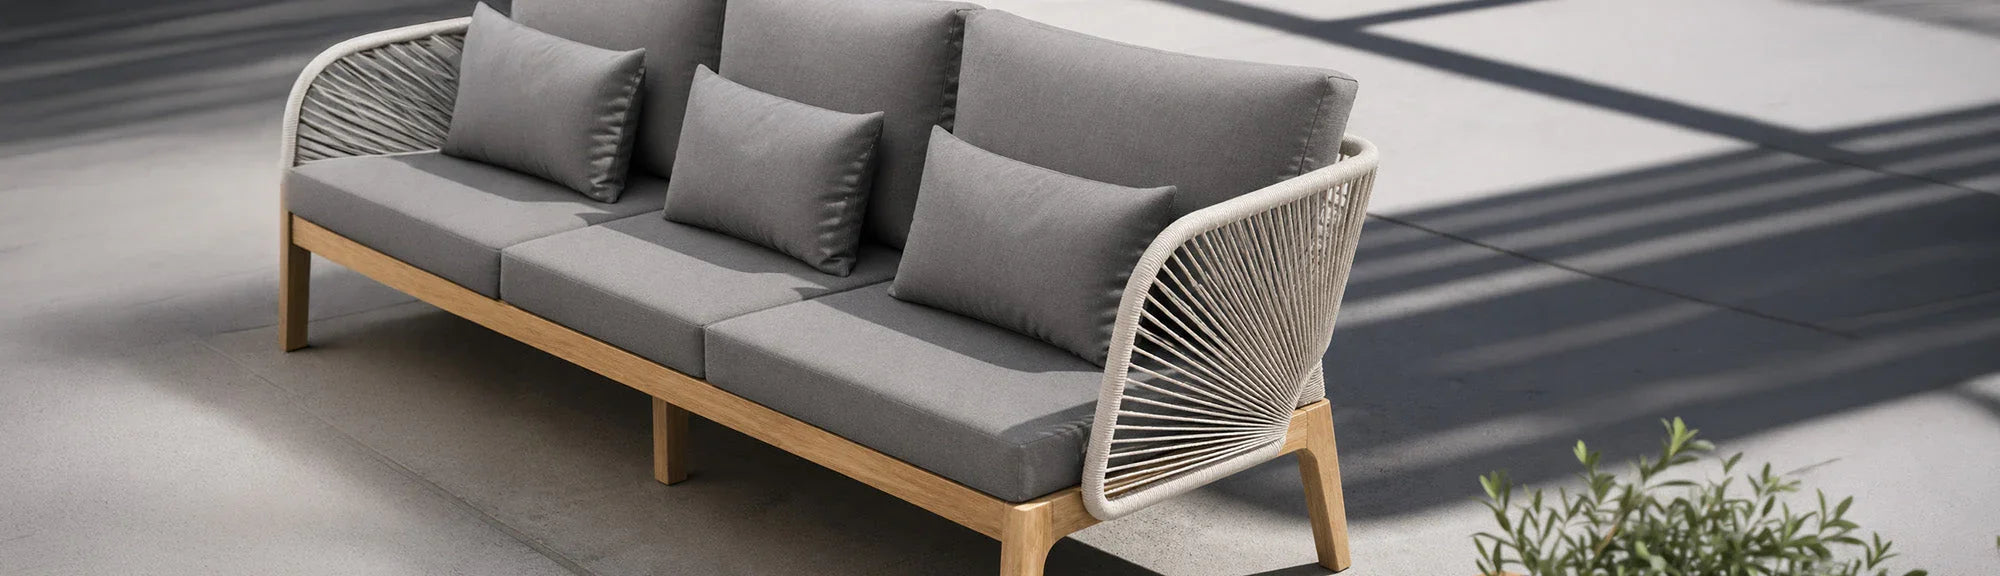
Enjoy Your Re-Slung Patio Life
Sling replacement on your patio furniture is definitely a great way to get more seasons out of your favorite chair or lounge. Know your fabrics, know your steps, and you can make it happen. On the other hand, if you look at this guide and realize you'd much rather find new sling patio furniture, we're right there with you. Check out Patio Productions' wide range of luxury sling furniture pieces, perfect for any stylishly laidback yard or patio.
Or learn more about patio chairs on our Guide to Deck Chairs That Move You!
And if you have any questions, we've got FAQs!


