Repurposed Wine Bottle Tiki Torch - Complete Instructions
All Images courtesy of Erik Anderson at Gerardot & Co.
Want your own Wine Bottle TIKI Torch? You can make it yourself with as little as a single Abe Lincoln in your pocket. In 7 easy to follow steps, your backyard will be transformed from boring and bland to creative and vivacious! This recyclable project provides a fun way to recreate and repurpose everyday items.
For wine connoisseurs, this may give you another reason to have an extra glass or two at the end of the night but don't get too carried away. You don't need to be able to send the Batman signal from your backyard!
Frequently Asked Questions: DIY Wine Bottle Tiki Torch
Bottle, coupling, wick, fuel, Teflon tape, copper cap. An empty wine bottle; 1/2" Teflon tape; 1/2" × 3/8" copper coupling; 1/2" copper cap; TIKI replacement wick; outdoor TIKI torch fuel. Optional tools: channel locks, adjustable wrench, power screwdriver, and a funnel.
Wrap, insert, fill, seat, then light. Wrap the 1/2" end of the coupling with Teflon until snug; insert 3/8" wick leaving about 1/4" showing; fill bottle with outdoor TIKI fuel; twist the wick assembly in, let it soak a few minutes, then light.
Yes—any glass bottle with a neck. Wine, beer, and soda bottles work. Colorful options (like vivid blues) add pizzazz to the project and personalize your backyard look.
Use outdoor TIKI fuel and a 3/8" wick. Fill with outdoor TIKI torch fuel (citronella types are fine). Let the 3/8" diameter replacement wick absorb fuel before lighting. Keep about 1/4" showing at the coupler and never more than 1" above the bottle opening.
Yes—use a split ring and threaded rod. Supplies: copper top plate connector, 1" split ring hanger, 3/8"-16 threaded rod, two hex nuts, and #10 × 1" wood screws (for wood). Seat the bottle in the ring, tighten gently, confirm it is secure, and cap the wick after use.
No—tools just speed things up. Channel locks, an adjustable wrench, a power screwdriver, and a funnel make the job quicker, but the torch can be made with the core supplies alone.
Outdoor use only; keep wick low; plan about $5. Never leave flames unattended. Keep the wick under 1". Even with mounting hardware, the project is about $5. Ensure fittings are secure before lighting to prevent falls.
One Man's Trash is Another Man's Treasure
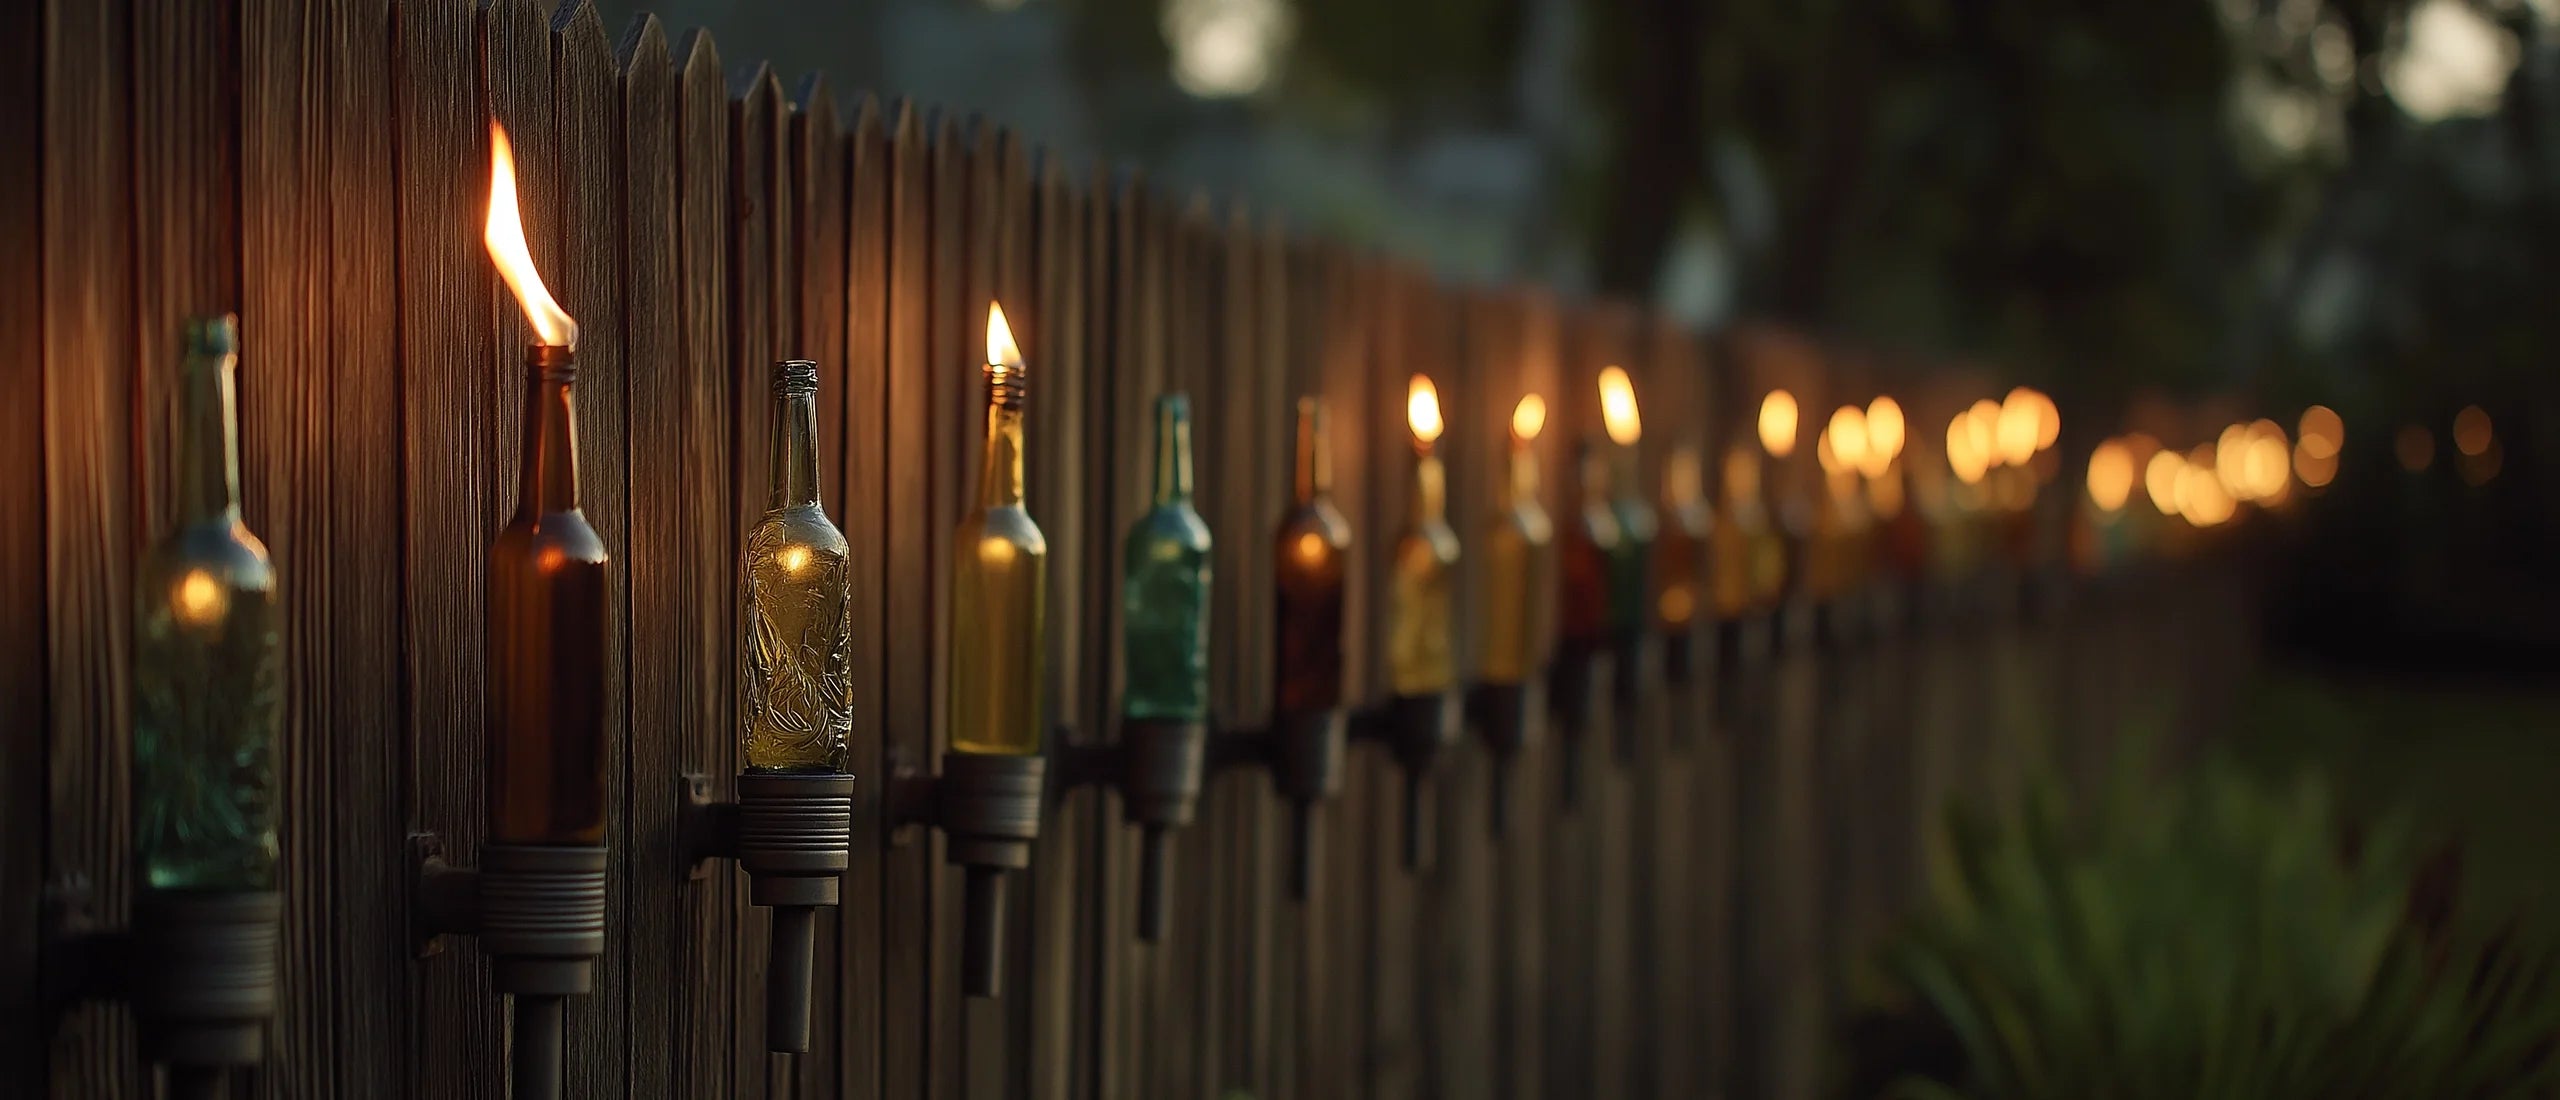
We initially showed this DIY Wine Bottle TIKI torch in our previous post that featured creative patio lighting ideas. You should take a look at it if you haven't already done so. One thing that I admire about the original post from Erik was the vibrant blue wine bottles. With this in mind, go out and try to find the craziest wine bottles for this project! It will definitely add some pizzazz to your backyard!
This post will initially show you how to make the torch. I will show you how to mount the torch to a fence post or wall in the second half. The second step is optional but adds to the design's creativity. I've also separated the supplies so that you don't get confused about what you have to buy if you don't want to mount the torch. Even if you do, it will only cost you $5. Now that's what I call ingenuity!
Safety Warning: This TIKI torch is intended for outdoor use. Never set your wick higher than 1" above the opening of your bottle. Never leave an open flame unattended.
What You'll Need to Make the Torch
*Numbers in parenthesis correspond with photo.*
- An empty wine bottle. You can use any glass bottle with a neck so beer and coke bottles are in! (1)
- 1/2" Teflon Tape
- 1/2" x 3/8" Copper Coupling. (5)
- 1/2" Copper Cap (6)
- TIKI Replacement wick (10)
- Outdoor TIKI torch fuel (11)
The following tools aren't necessary but they will make the job a little bit quicker. If you have them, this project will be a breeze! Dig through your tool box for channel locks, adjustable wrench, power screwdriver, and a funnel. If you have them, great. If not, don't fret!
Check out these 9 Enchanting Outdoor Lighting Ideas!
4 Steps to Making a TIKI Torch
- Wrap the 1/2" end of coupling (wick holder) with Teflon tape until it sits snug in the opening of your bottle. You may have to do this 10-20 times depending on your bottle size.
- Insert the wick into the reducer/coupling until there is about 1/4" protruding out from the coupler. You can find 3/8" diameter replacement wicks from Tiki Brand. This step will create a tight fit and keep everything nice and snug.
- Use a funnel to fill the bottle with outdoor TIKI torch fuel. Some popular canisters include BiteFighter and Citronella.
- Insert the wick into the bottle in a twisting motion. Once seated inside of your bottle, the wick will absorb TIKI fuel and keep your torch burning. Note: It's best if you wait a few minutes before initial lighting.
Wrap the coupling with Teflon Tape tightly and evenly. When done properly, it should look like this.
Optional Mounting Instructions
You can mount your TIKI torch to a wall or along fencing. Follow these instructions to mount your TIKI torch to a stationary object.
Mounting Supplies:
*Numbers in parenthesis correspond with photo.*
- 3. Copper Top Plate Connector threaded for 3/8"-16 thread rod.
- 4. 1" Split Ring Hanger (threaded for 3/8" - 16 thread rod.
- Two Hex Nuts threaded for 3/8"-16 thread rod (7)
- Two #10 x 1" Zinc Plated Wood Screws ( if mounting to wood) (8)
- 3/8"-16 Zinc Plated Threaded Rod (9)
If these measurements confuse you, you can read this to learn how to read thread sizes.
Mounting your TIKI torch is fairly simple and straight forward. This shows you how to put all of the screws and rods together.
Mounting Instructions
- Loosen your split ring hanger and place the neck of your wine bottle within the ring.
- Tighten the ring hangers with a screwdriver so that there is enough pressure to keep your bottle from falling but not so much that is causing the bottle to shatter. A trick you can use is adding Teflon tape around the neck of your hanger to create a better adhesive.
- The last thing that you want is your TIKI torch falling from your hanger so make sure that the fitting is secure before you light your torch. When you put out your homemade TIKI torch, you can blow it out and place the copper cap on top to protect the wick from the elements.
The completed project looks amazing on your backyard patio!
If you're looking to add a tropical feel to go along with your new TIKI torch, you should check out some of these Outdoor TIKI bars that are the perfect size.
Additional Backyard Projects to Try:
- Homemade Popsicles from the Garden
- Making a Herb Garden out of old Pallets
- How to Stain Concrete Slabs - Home DIY Projects


